When you cut the LED strips, make sure it is between the two copper points (about every three LEDs). Make sure all the strips go in the same direction. How can you tell? Well when you line them up, you will see at the ends of the LED strips, two copper dots, one negative and one positive. The ends should match, so for instance all the negative copper terminals should be on the top and the entire positive terminal on the bottom. This way it makes it easy to line up and solder. You are going to take the 12 AWG wire (basically speaker wire) and have it go through holes you have to make in the center of the short sides. The speaker wire is a paired wire, one wire to go to the top and one to go towards the bottom. It doesn’t matter which is which. Start on one side and strip the red and black off so that it reaches just past the leds. Give it about an inch from the top of the LEDS. Staple this down and start soldering the small copper wire to each one. For the one side you want the negatives and the other side the positives. You do not do all of them on both sides.
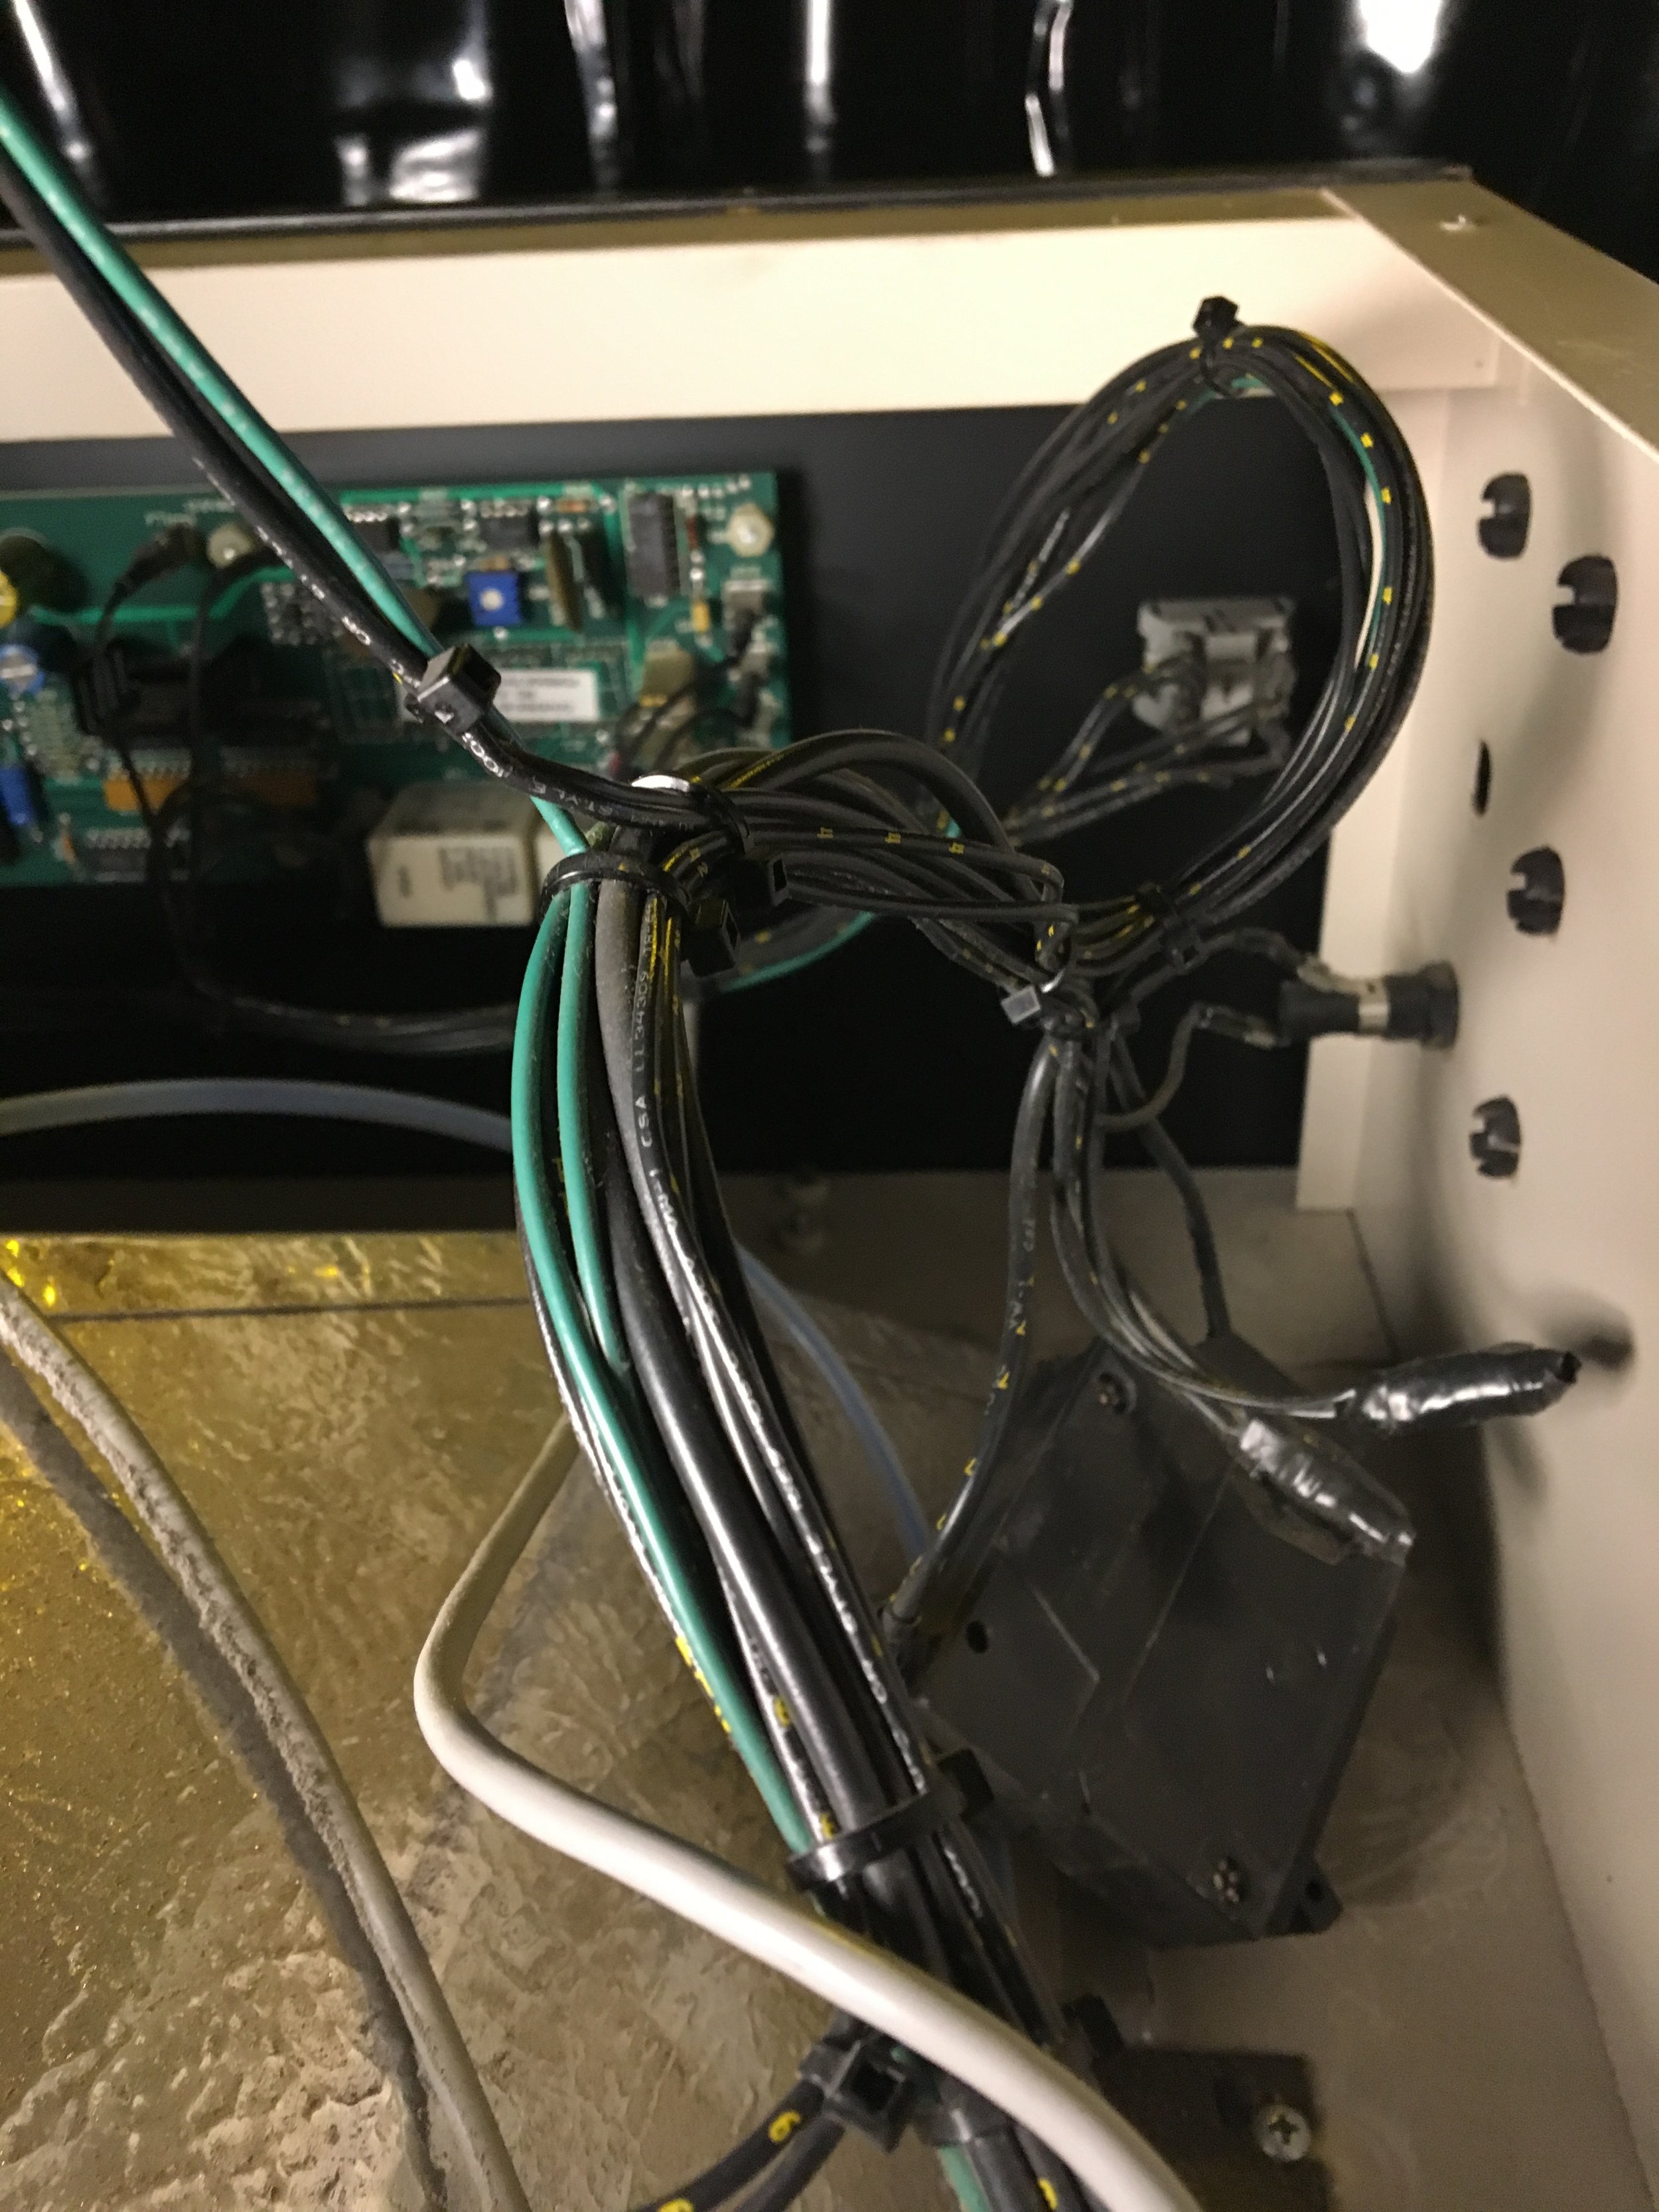
Once you are done, test with the power supply. You should have three positive and three negative connections on the power supply. The one 12 AWG cord (with the red and black cord inside) from the right should go into the positive connections on the power supply and the one cord from the left should go into the two negative terminals. Which side doesn’t matter as much as long as the wires soldered to the negative side of the LED terminal is plugged into the negative connection on the power supply; same with the positive. Then connect the power cable, black is live, white is neutral and green is ground. Plug it in and step back. The lights take about 2 seconds to turn on. Once it is all working, flip the board over and attach the power supply to the board and you are done.
I have saved everything I have used into a wish list from Amazon or you can check out the links individually below.
Wishlist
http://amzn.com/w/2HOSLC2PAO93S
I will keep updating this with more images and better directions as this process evolves.
Here is a schematic I made:


