equipment

Nuarc 26-1K photos of the inside by greg brophy

Recently I have had a few people ask me for photos of the inside of my Nuarc. Mine is a little different in that I have removed the vacuum button and placed it else where so that I can use it with other light sources. Here are the photos for others who may have bought a used one or might need to see where things are connected. 


back of front panel. The empty hole on the left is where the vacuum guage was. 

back of front panel. The empty hole on the left is where the vacuum guage was. 

IMG_1960.JPG
IMG_1957.JPG
The back where the power cord comes in

The back where the power cord comes in

IMG_1952.JPG

Where the power cord attaches

IMG_1951.JPG

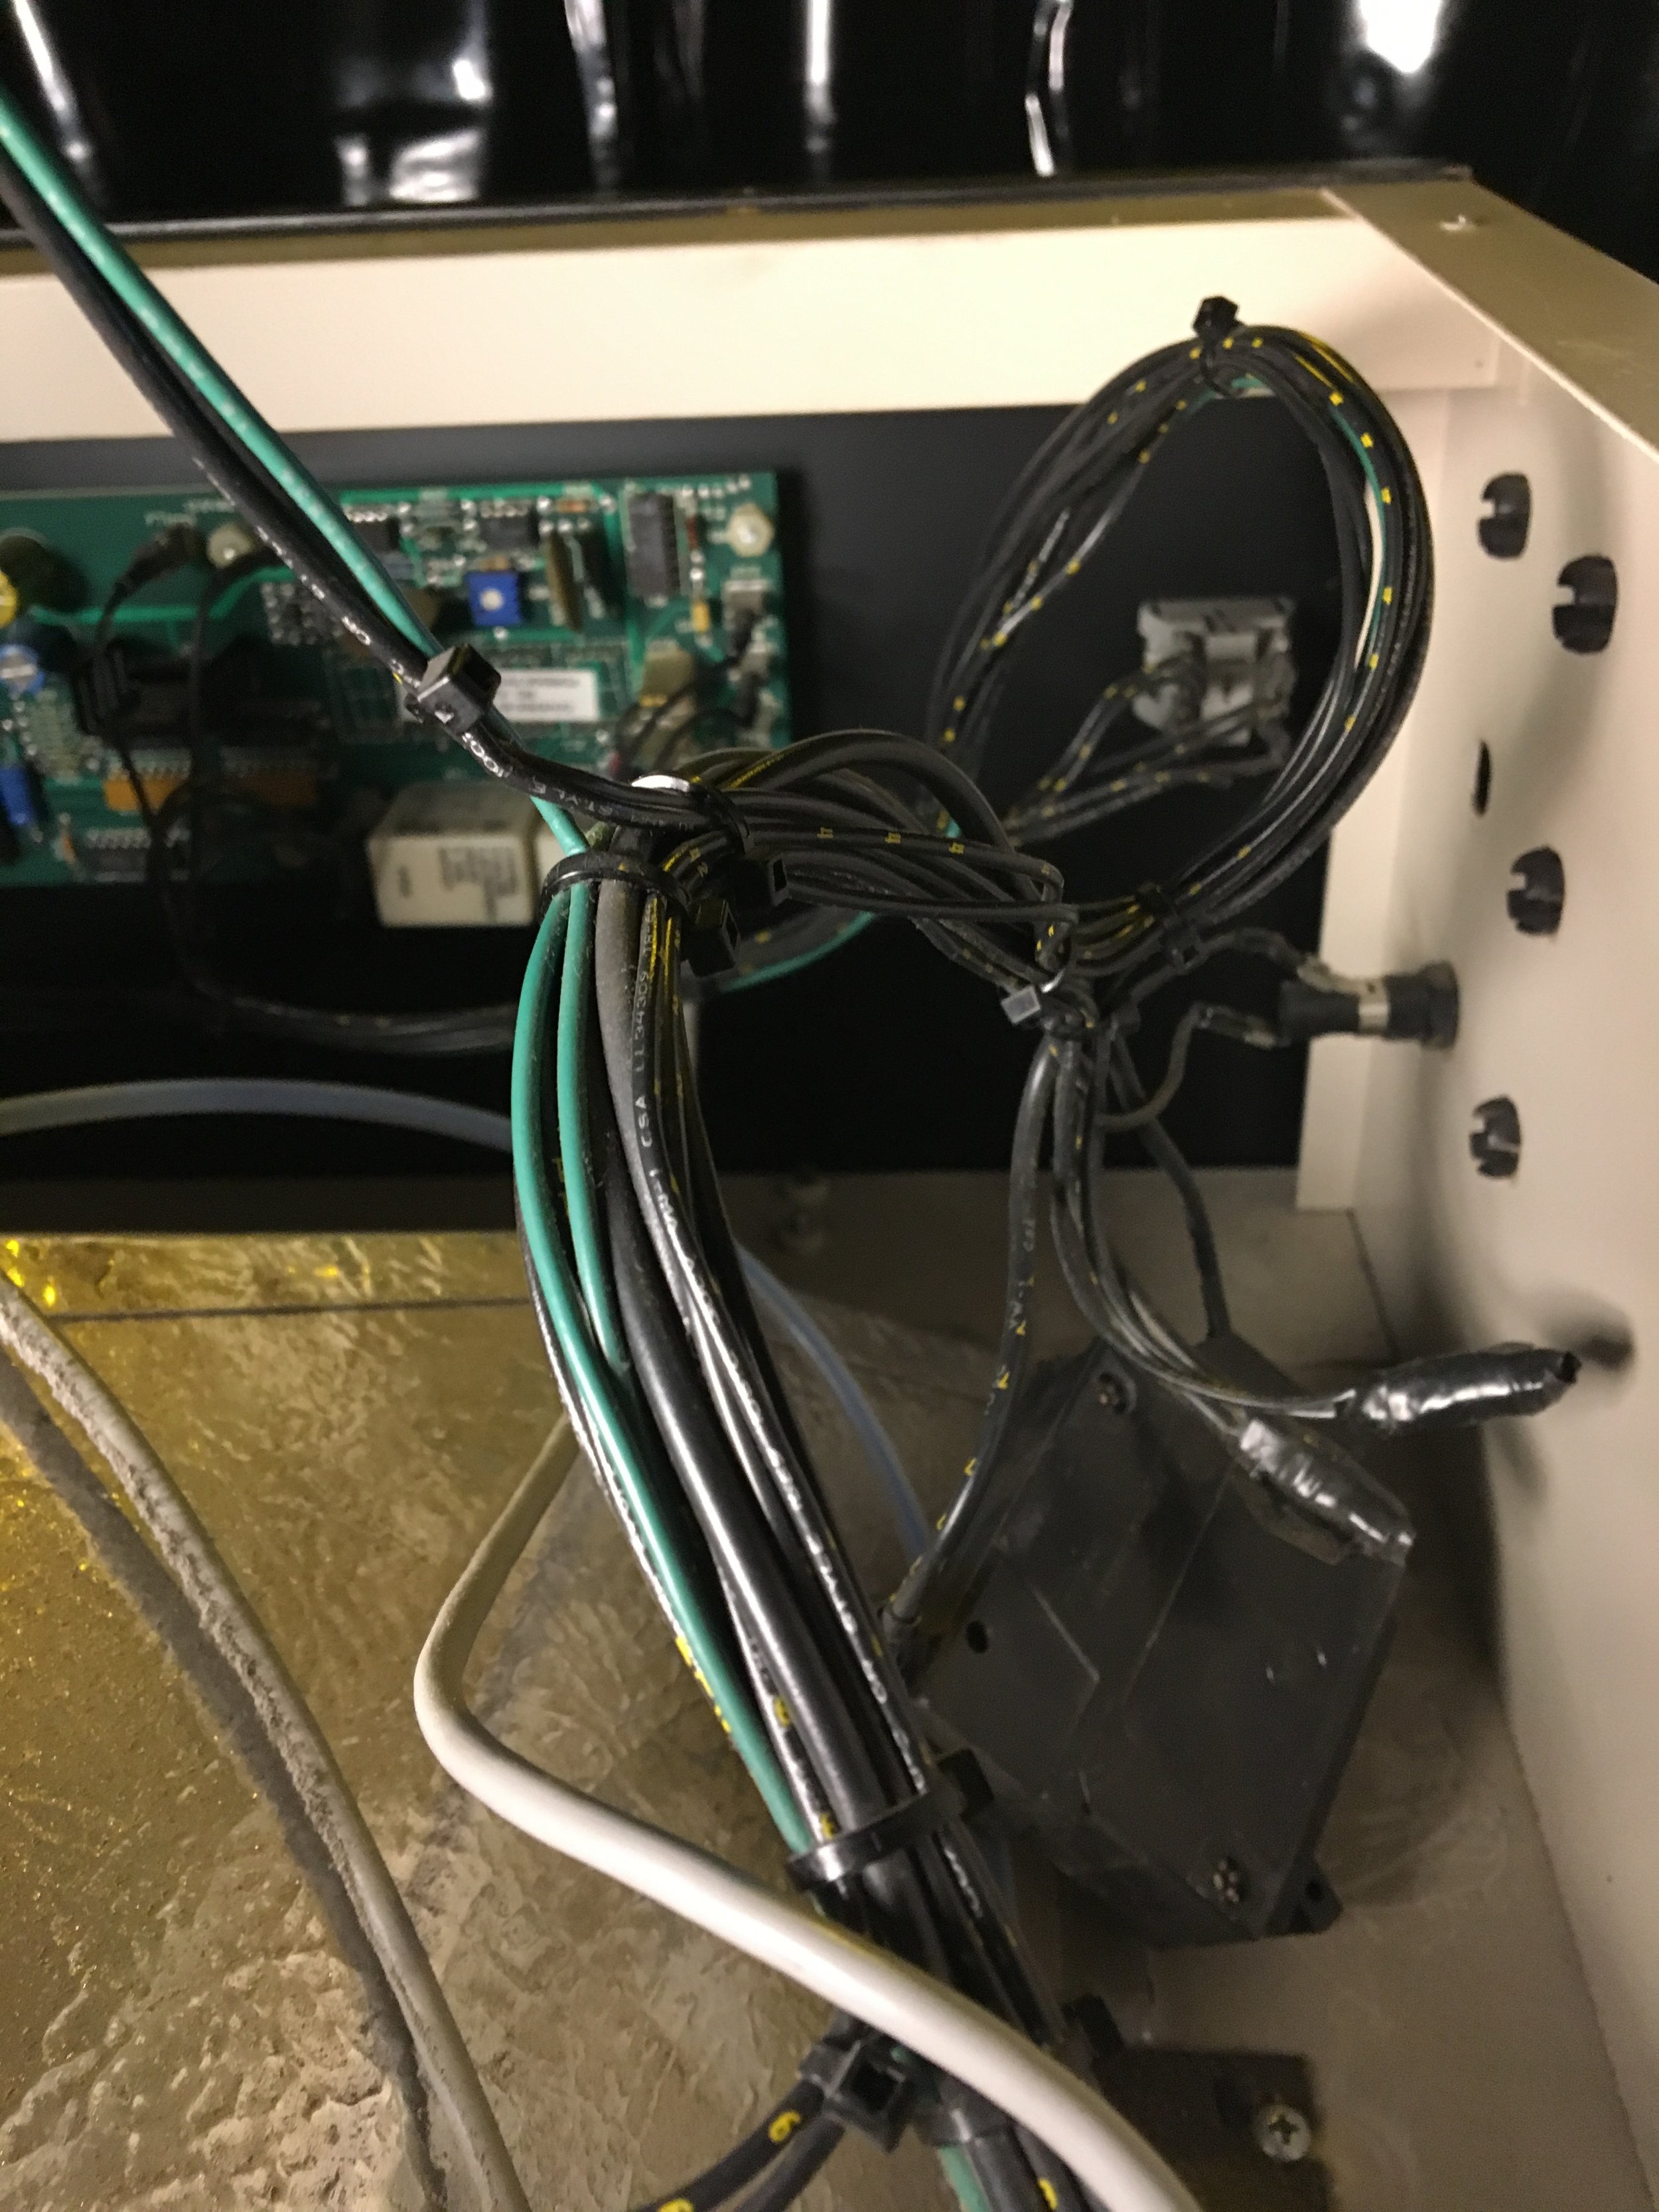
Right side back panel

IMG_1942.JPG

The whole back panel with the light integrator in the center


Calibrating a NuArc 26-1K or 40-1K by greg brophy

For making platinum prints, I normally use a NuArc 40-1K with a vacuum frame. It's the same as the 26-1K except the vacuum frame is larger. The 26 is for the size of the vacuum frame, 26 inches. While trying to calibrate my exposures, I was having a hard time getting good exposures. 100 units would take 4 minutes. I read on the Yahoo Carbon Printing Group about calibrating them to  get the exposure closer to 1 unit = 1 sec. I contacted Israel Martinez from M&R Print ( http://www.mrprint.com 800-736-6431). He walked me through the steps of what to do. I am just passing along information and take no responsibility if you damage your unit or electrocute yourself, so proceed with caution.

First step is to unplug the unit and then remove the lid of the exposure unit. 

Side view with the lid off

In this side view, the front of the unit is to my left. What you see above is the lamp and the Photocell. The Photocell measures the amount of light coming from the lamp and shuts the unit off when it has reached the limit of what was set. There are three ways to adjust this to make it more sensitive. The first is to angle down the sensor. You will have to play with it, but I adjusted mine here to angle down by about 5 degrees. It doesn't take much.

The red line is where you set the aperture to.

This is what it looks like with the aperture wheel off.

The second way is to adjust the aperture on the front of the Photocell. 1 is the most sensitive and 11 being the least. You can see a swirl on the face, that is what controls the amount of light hitting the sensor. Unscrew just a little, the screw in the middle and adjust it by turing it to match the red mark. It is usually set at 5, I set mine at 1.

The third way to adjust it is to go to the front panel and adjust the resistor. IT is a blue square box with a white plastic screw on the inside. First you want to turn to all the way counter clockwise to as far as it will go and mark that with a sharpie. That makes it less sensitive. Then turn it all the way clockwise until it stops and mark that. This makes it the most sensitive. Now turn it back counter clockwise until it is about center between the two and check it. I would caution not to set it too far clockwise, it may strain the system itself. 

Front of case with the resistor

My particular problem was caused by a melted aperture disc. Mine was pretty old and had many years of use and over time, the aperture wheel that protects the sensor from the light clouded up. If you are having problems, I would check this first. The part itself cost $22, but M&R have a $25 dollar minimum and they charge about $14 for shipping so it costs about $40 in the end. It's pretty cheap to replace compared to the rest of the parts. The new and old dials.

The new and the old aperture dials.

I put it in this morning, tested it and it was a little faster than 1 to 1 so I will have to slow it down a little. Thanks again to Israel Martinez from M&R Print, they have always been very helpful.